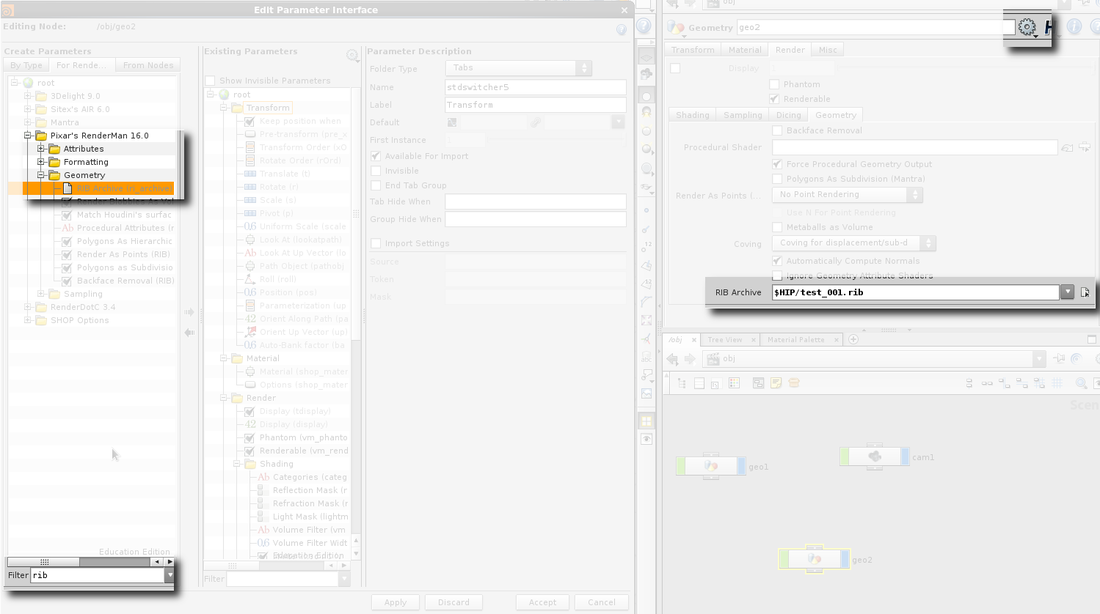
- Make a new geo container
- Click on the gear to go into edit rendering parameter interface
- Filter the options by "rib"
- Add RIB Archive under Pixar's Renderman
- On your geo node, enter the file name into the newly added RIB Archive field
|
|

With Renderman in Maya, one is able to change a texture map or an attribute based on the name of the object it is applied to. In Houdini, this is done on the material node by adding local overrides. The user can alter any attribute on the chosen shader based on a group or on a stamped copy number. Be careful when changing texture maps. These are passed in a strings rather than floats or integers so proper formatting is key: `"/path/to/file/filename" + number + ".tex"` Now the user can alter the number so that filename1.tex, filename2.tex, and filename3.tex are all accessible by the same shader and material node leading to quicker render times! 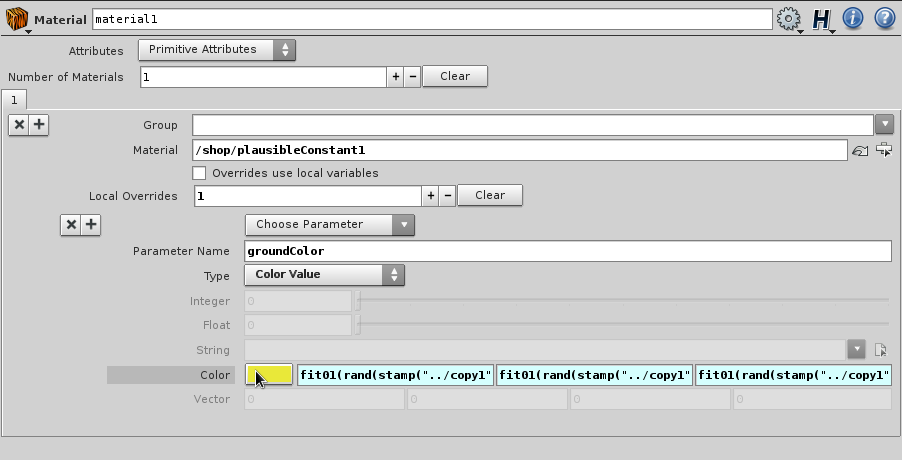
Click the checkbox that says "disk file" on your ROP.  As with most things in Houdini, this is a simple check box. Go to Edit -> Preferences -> Rendering and check the "Pixar's Renderman" check box. 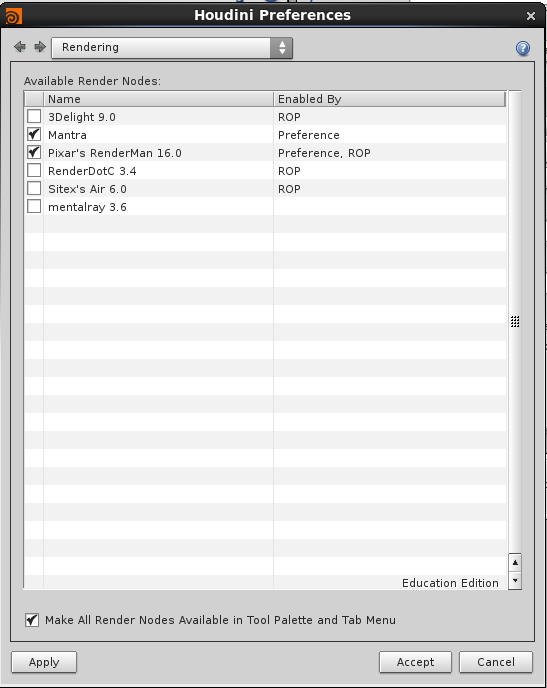 This opens up all the shaders and settings for Renderman. If you are newer to Houdini and/or Renderman, I suggest unchecking "Mantra" so that you don't get confused. To convert .slo shader files to something Houdini can read, use either Cutter (downloadable at www.fundza.com) and set up your paths and preferences or use the terminal and convert the .slo file using the prepackaged script. Type into the terminal window after navigating to where your shader is: slo2otl.py -l myshader.otl myshader.slo Then you will install the digital asset library into your hip file by going to File -> Install Digital Asset Library and all of your shaders will be accessible through the shop. 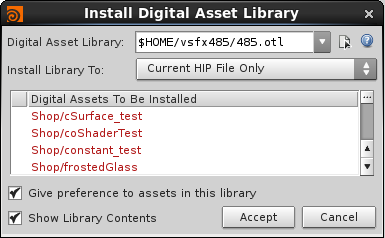 Create a normal light in the network view by hitting the tab key and typing "light". Make sure you have created your light shader in the Shop network, mine is called "plausibleSunlight1". Add your shader to the light material and control all light attributes except for position within the shader. 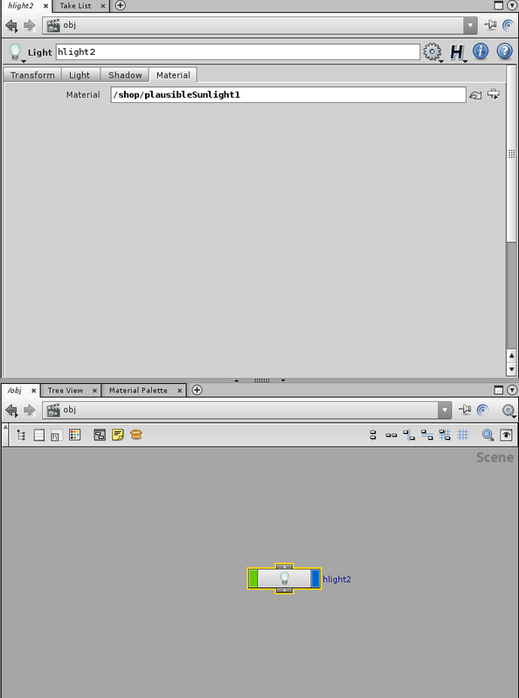 Site dedicated to my works done implemented in Houdini and rendered in Pixar's Renderman. It includes comparative renders, hand written rib files, animated custom shaders, a scene with a custom coded iridescent shader, as well as a list of complications that I've run across in using Houdini and Renderman together. The Maya Pattern Animation tab describes my process in creating a project with seashells that are procedurally generated with a python script based on a formula by Deborah Fowler. This is then implemented in Houdini and rendered with Renderman. The beauty and caustics layers are rendered in Renderman. All of the shaders are Renderman shaders. I scripted an iridescent shader which allows the artist to have complete control over the color, reflectivity, added noise, as well as facing ratio towards the camera so that they could control how much of the colors are seen. Below is a better quality video of that project. |
Categories
All
Archives |
 RSS Feed