Kristen Eggleston
  • Demo Reel

Scratches

6/27/2013

0 Comments

 
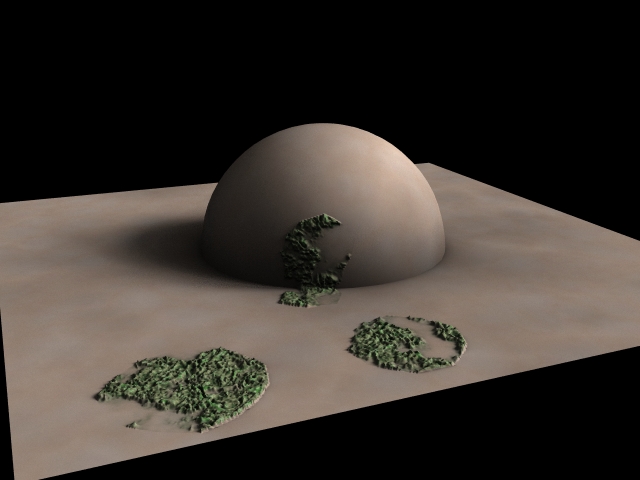
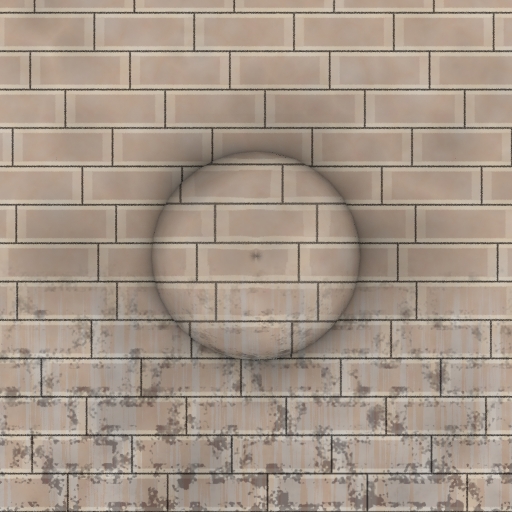
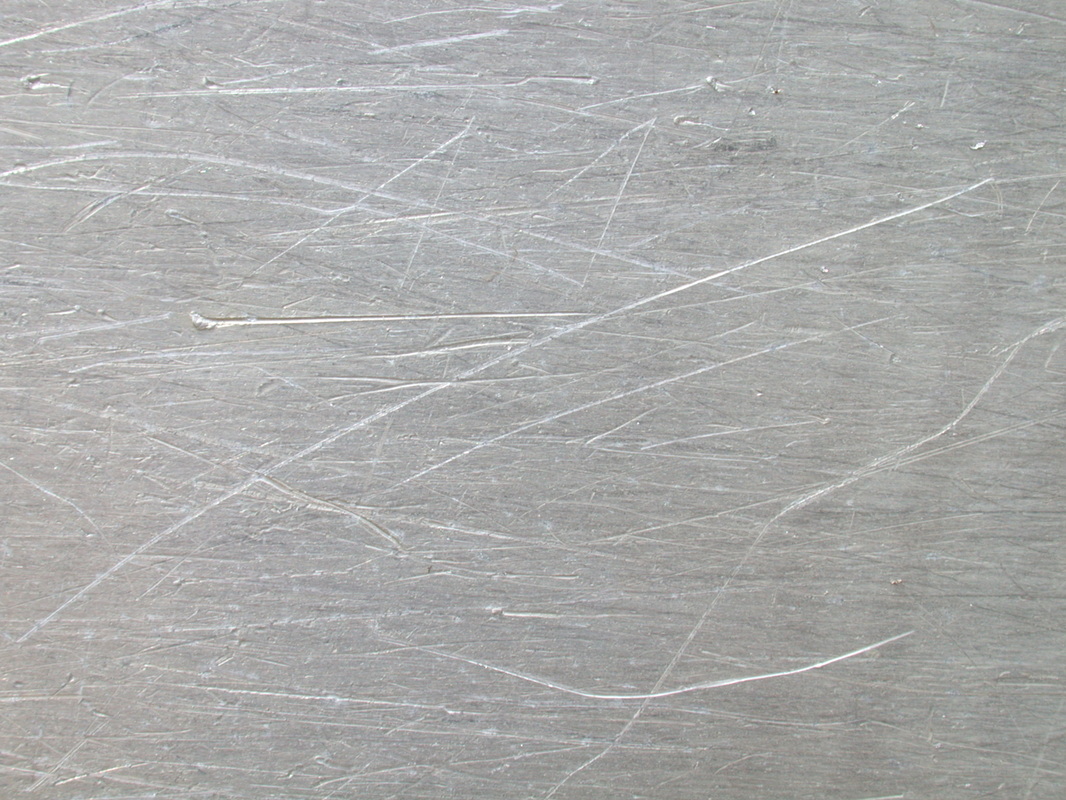
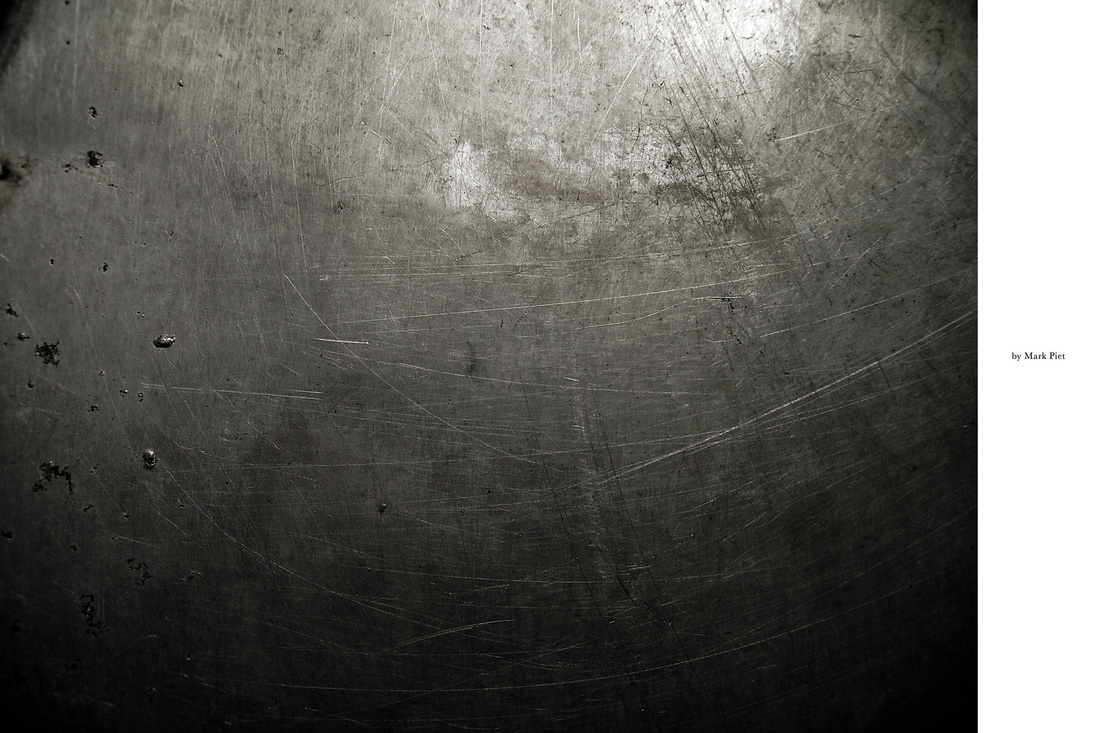
Time for metallic scratches!!
  • Go in many different directions across UV surface
  • Are patchy
  • Are displaced up and down, but need ability to go one direction or the other
  • Both add and subtract from spec
  • Change color, either lighten and darken or to reveal a layer underneath (ramp so that the colors are not consistent?)

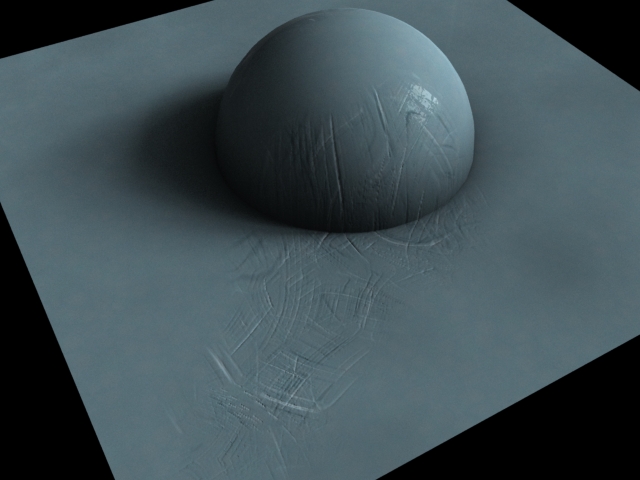
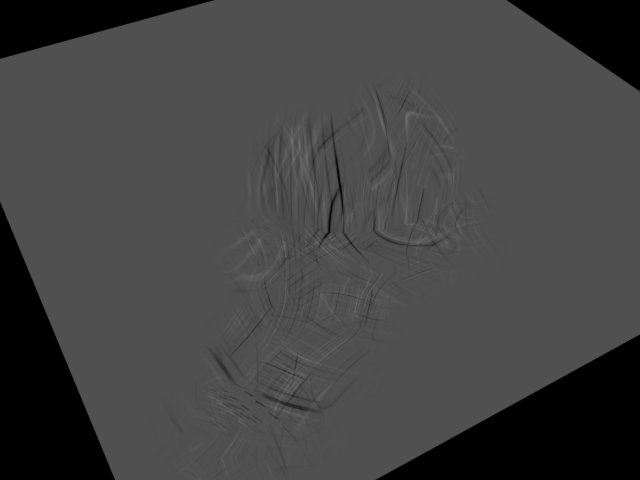
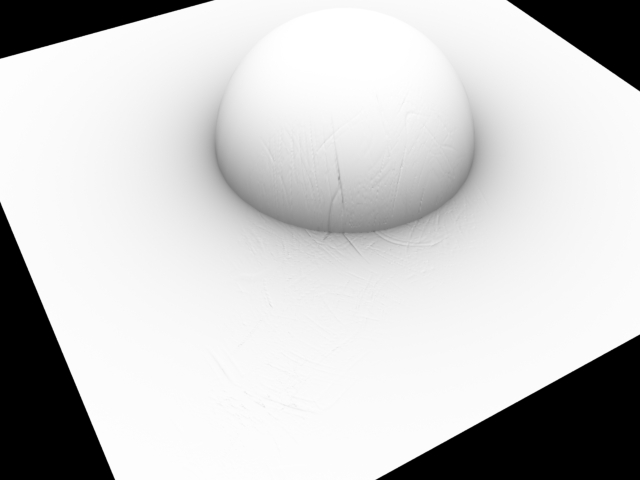
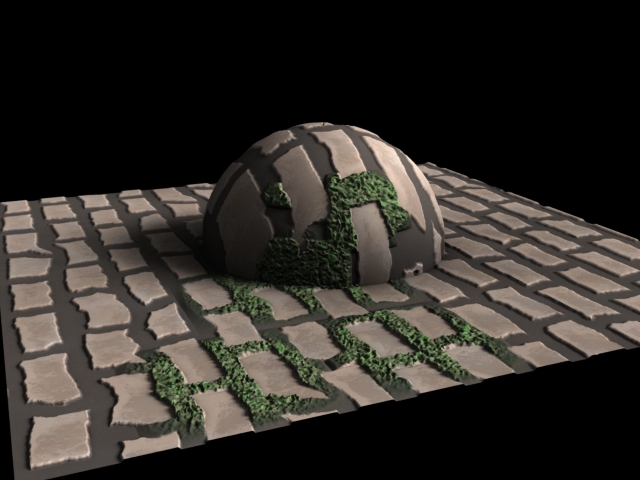
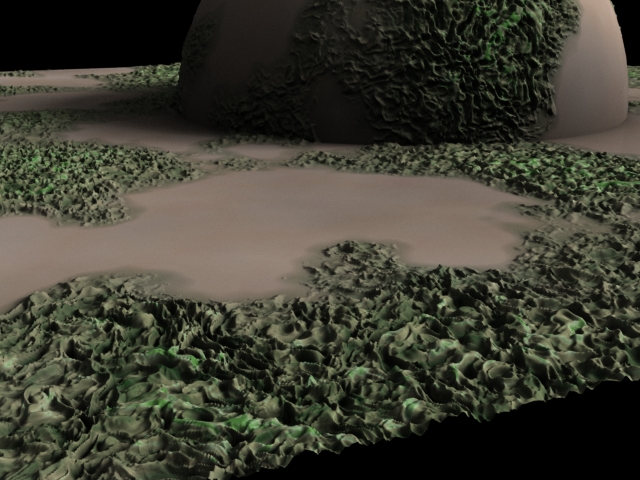
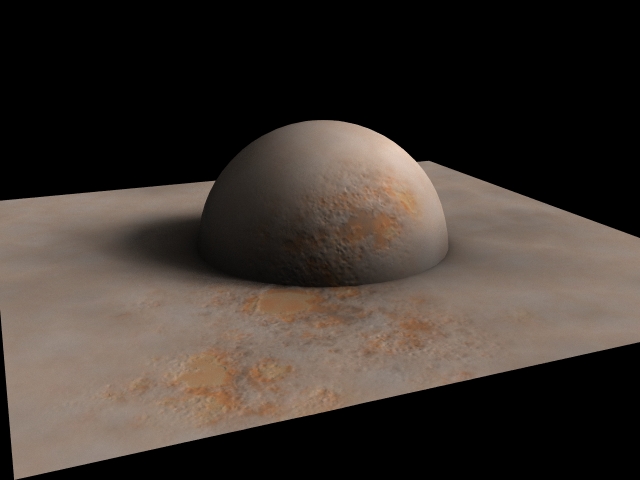
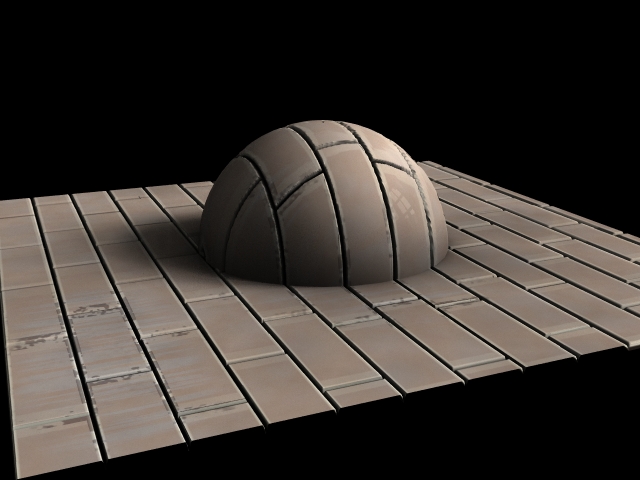
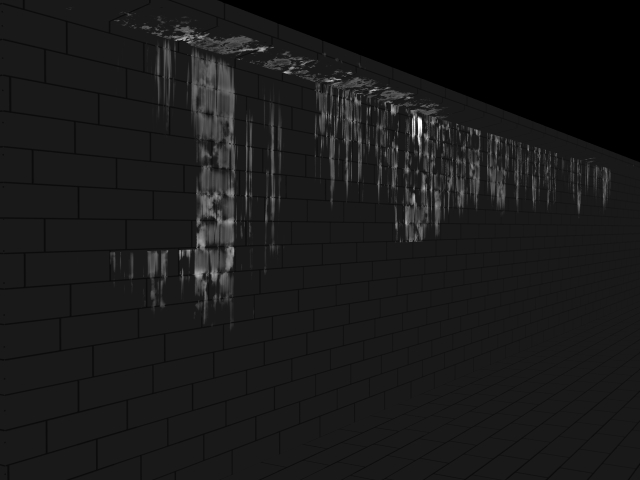
I am fairly happy with the shape and pattern of the scratches and how they are displacing the surface but not how they are coloring it.

Picture
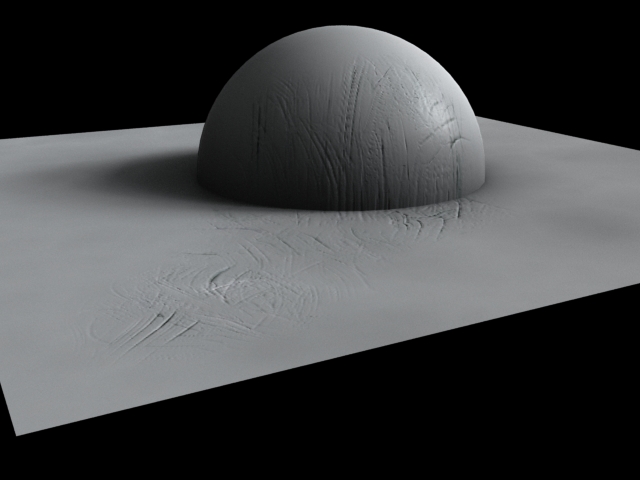
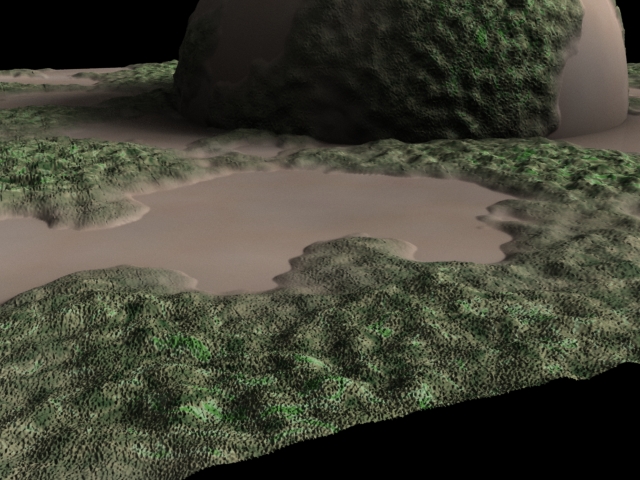
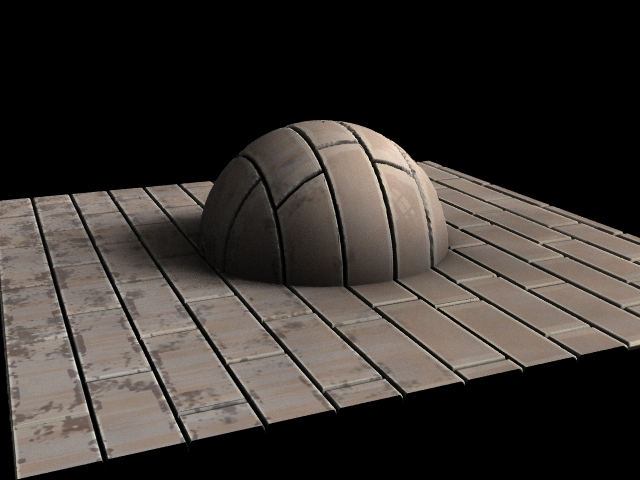
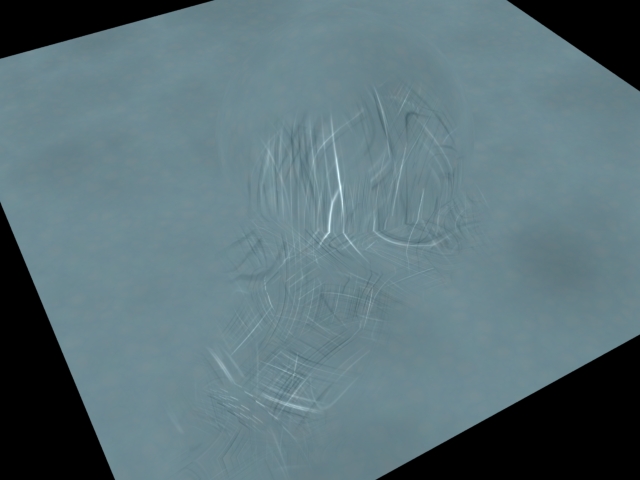
I like the way this is starting to look, there's more variation within the cracks. However I'm missing the very fine scratches that don't displace the geometry but just change the spec and color.


0 Comments

The Little Things

6/26/2013

0 Comments

 
Specifically the magic of If-Then Blocks.
In this particular case, I'm reading in the point color and if it is less than x, multiply the number by 0. This way I can have blurry point attributes for water stains or rust or the color fade of moss while being able to have a sharp edge for displacement since moss does not fade off, it stops growing.
The SOP is just so much easier to write and read than finagling switch statements or clogging up my network with wires going to multiple math statements.
0 Comments

Moss

6/25/2013

0 Comments

 
Necessary features for moss:
  • Variated user defined color
  • Softness in the displacement
  • Specular change
  • Uneven edges for patches
  • Put in grout
  • User can put where the moss will be with map or point color or use noise
Most of the above list has been accomplished, I'm still struggling with accomplishing a "softness" on the patches of moss that are not just decoration inside the grout. It might need just a high frequency noise added on top of all of it.

The first image is a close up of the worley noise. This made a really nice 2D shape and drives the colors but when turned into a displacement, it goes mountainous. I need to plateau the peaks or even better find a smoother version of it. I've already used a smooth SOP to balance out the edges of the displacement.
The second image is what I'm going for for the extra fine lumpities that moss has that give it the really soft looking texture. It seems that moss is a layer of fine lumps on top of larger lumps.
The third image is the second image added to a less frequent noise. However the large lumps do not match the color and are way to uniform. If I can combine this noise with the first worley noise, then add the fine noise on top, that should be a great combination.
0 Comments

Callback Scripts

6/25/2013

0 Comments

 
I've been using callback scripts heavily to change settings within the shader so that the user won't have to. For some reason I always forget to switch the language to python from hscript! That is the first thing I check when my scripts do nothing.
if hou.pwd().parm("placeChoice").eval() == 1: hou.pwd().hdaModule().makePainty("moss")
In pseudo code:
If the parameter on this node is equal to one, run the "makePainty" function attached to this node and pass the token "moss".
0 Comments

Blurred Paint Attr

6/25/2013

0 Comments

 
The render for rust and water drips had harsh edges on the displacement due to the point color attributes. To fix that, I plugged the paint sop into an attribTransfer sop (both inputs) and bumped the radius up to 1.64 and the samples to 15. This gave a nice falloff to the rust and is an added feature for the user in that they can now control how soft they want the falloff to be on the rust. This is the odforce post I found that described it.
0 Comments

Blurred Edges

6/24/2013

0 Comments

 
These are renders of water stains affecting the tile edges. I would like to have them not be so splotchy but when that happens, they are extremely blocky instead with harsh edges rather than a nice falloff. I'm debating trying to finagle it so the image renders how I sort of want it to, or trying to use COPs to change the image, it would have to render along the UVs.
0 Comments

Cleaning Up

6/24/2013

0 Comments

 
In preparation for my progress presentation, I've been cleaning up my shader and finding little bugs for the past couple days. Small things such as making sure the ramp for the water stains actually changed to match the correct axis, fixing the UI for rust and promoting parameters, tracing back through a maze of noise nodes that were never promoted and therefore cannot be changed and are irritating.

The ramp being mapped on a specific axis problem was probably coming from the noise not being transformed into world space. Now that the position for the ramp and the noise is piped through the transform node, it works how I expect.

The main problem stemmed from changing the definition of the material vop rather than creating my own shader. Now this is rectified and I'm 95% sure that everything works correctly.
0 Comments

Point Based Occlusion

6/20/2013

0 Comments

 
Picture
I'm trying to make point based occlusion by passing in occlusion to the point cloud as a variable and then filtering it out to use later. The point cloud gets created but when I use the VEX notation of
$success = pcwrite($file, "occ", $occlusion, "P", P, "N: Vector", N);
The point cloud gets twisted and inverted and lovely like the image to the left. This happens even when the code is simple like:
$success = pcwrite($file, "P", P, "N: Vector", N);
as it is in the actual pcwrite node. I found a pcwrite node that someone else made here, but the code is the same, just containing five elements. I may end up just using that until I can figure out why mine doesn't work.


Apparently the points need to be forced into world space. I must not've had the nodes hooked up correctly but the code
$success = pcwrite($file, "P", ptransform("space:world", P), "N: Vector", N);
works just fine.
0 Comments

Tangent Space Normals

6/19/2013

1 Comment

 
Picture
So this is what tangent space normals are meant to look like. It's basically a fit function put on normalized normals. The caveat to using this technique is that the camera must be on the correct axis for rendering, in this case lined up along the Y axis. It is then a setting the fit function's source min to (1, -1, 1) and source max to (-1, 1, -1) which correspond to the original normal values. I'm so glad that my mentor figured this out.

1 Comment

Water Drip Specular

6/19/2013

0 Comments

 
The left hand image is the full render using the right hand image as a spec map. It seems to me that the water drips should have more shine to them. I think they do not because the wall is a flat surface. I could add bump or displacement based on the drips to force them to catch the light. I suppose if they were real stains on the wall and not running water they would have the same or slightly less specularity than the wall.
0 Comments
<<Previous

    Author

    Compilations and contemplations of my time as a Side Effects intern.

    Archives

    August 2013
    July 2013
    June 2013

    Categories

    All
    Discoveries
    Fun Renders
    It Totally Works
    New Feature
    Personal
    Problems
    Uber Shader

Proudly powered by Weebly