VoilĂ ! In view, a humble vaudevillian VEX, cast vicariously as both victim and villain by the vicissitudes of fate.
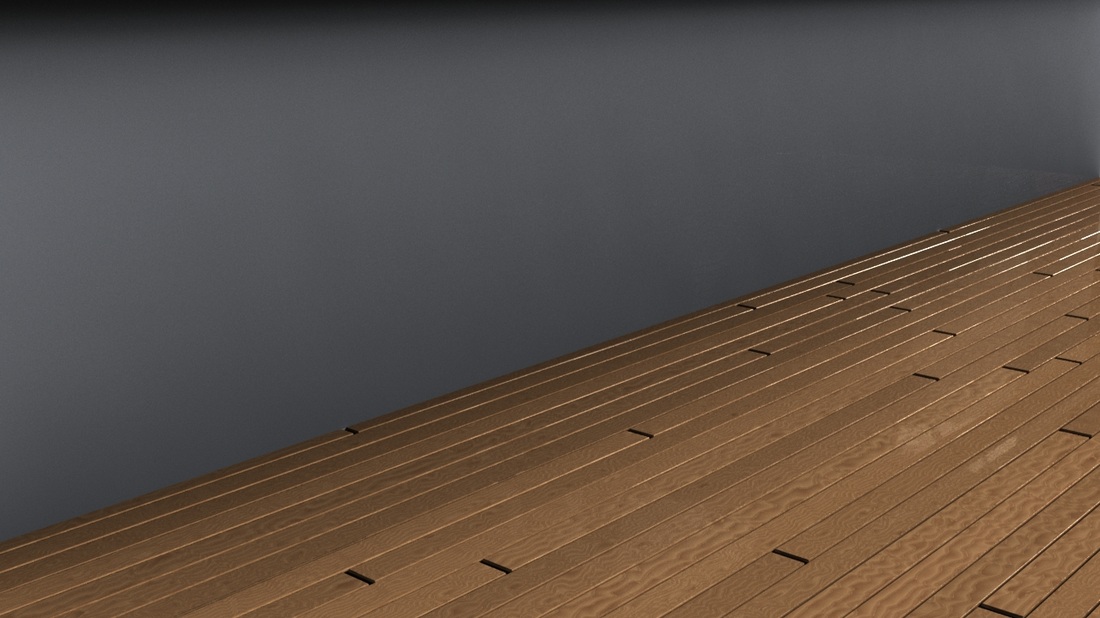
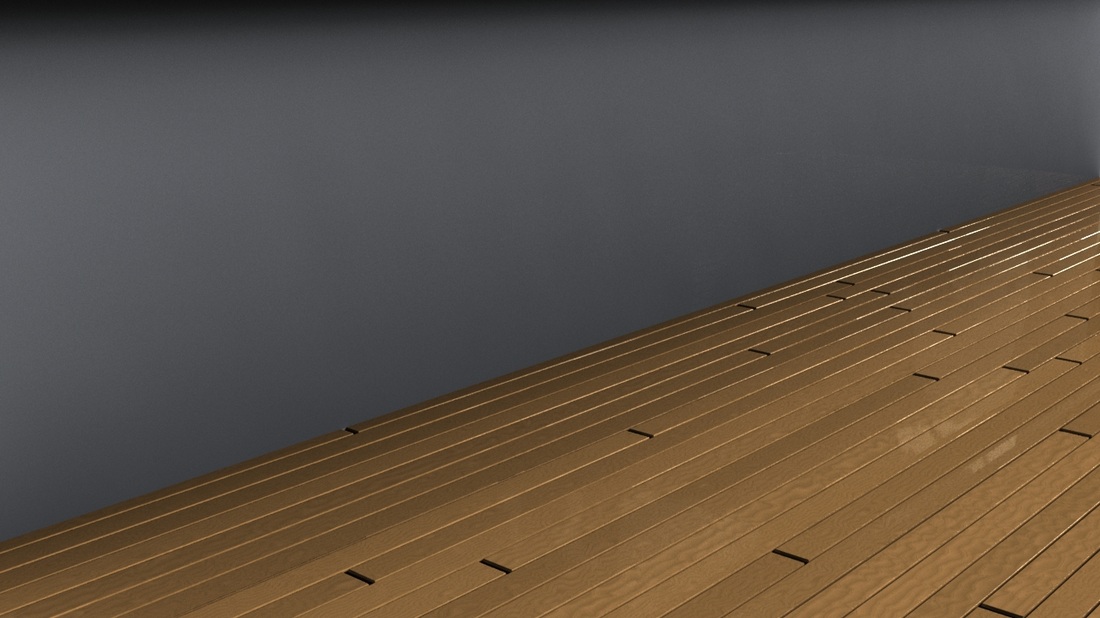
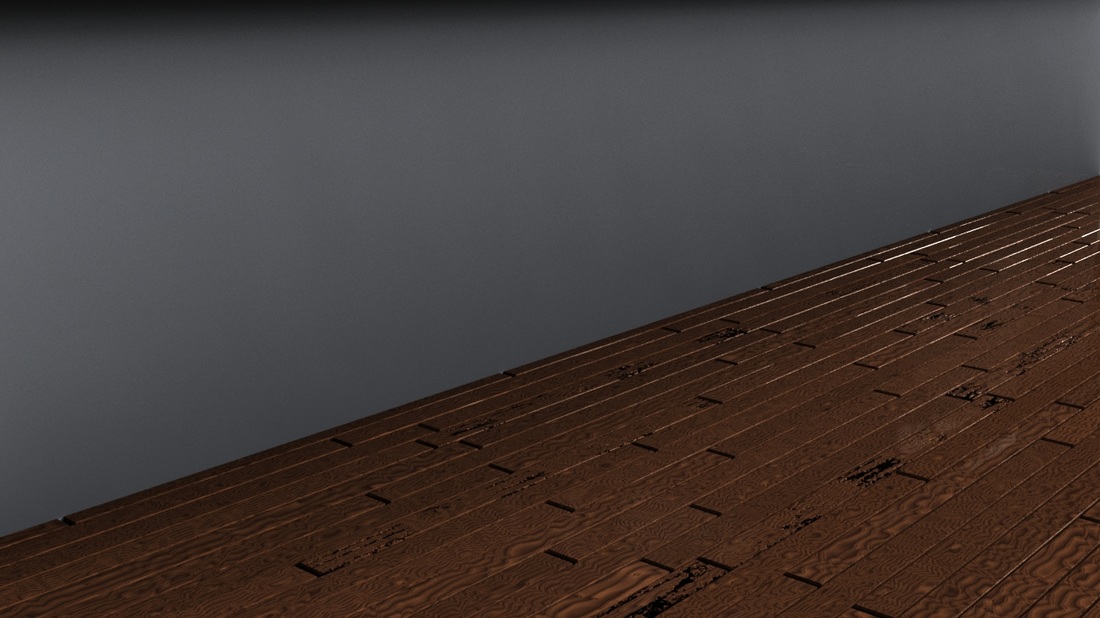
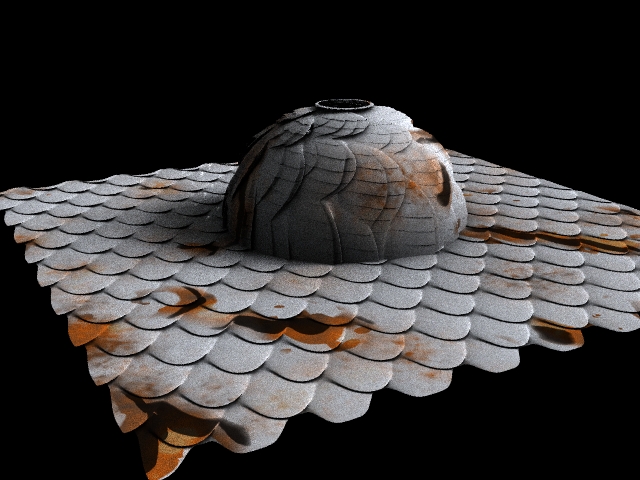
Dabbling in VEX shaders gives the possibility for textures based on faces rather than UVs, but one must have access to the face id for this to happen. VoilĂ ! In view, a humble vaudevillian VEX, cast vicariously as both victim and villain by the vicissitudes of fate. 
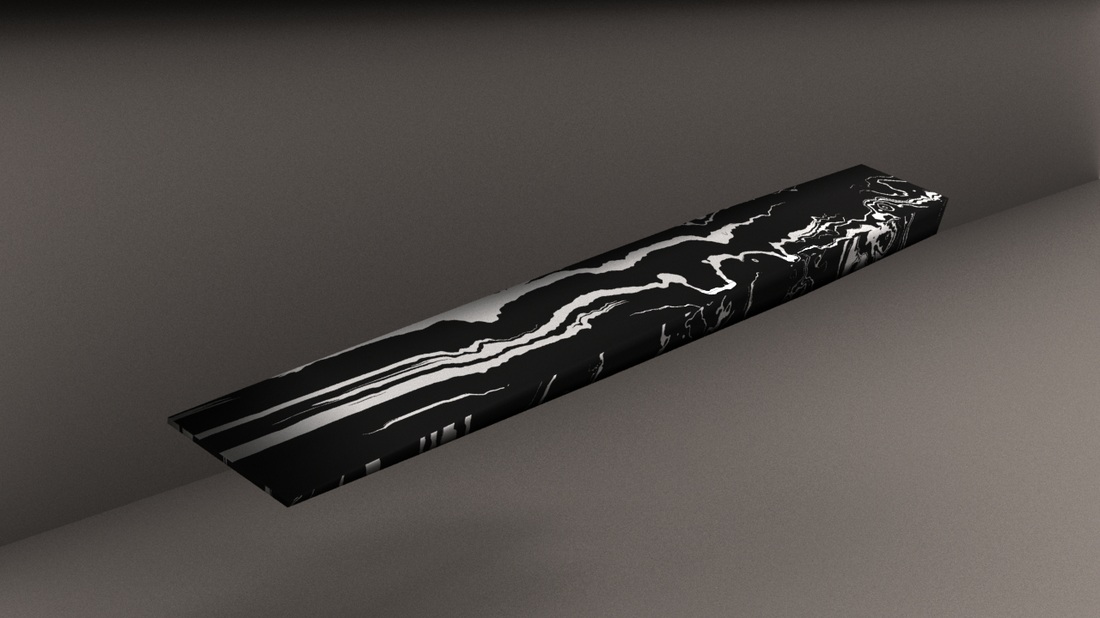
int $fface = getprimid(); Yes, it took longer than I care to admit to find that line of code.
0 Comments
It occurred to me that I'd lots of lovely renders for SIGGRAPH but never actually posted them online. This is what functionality the shader is capable of so far.
Alright so for some reason, the rotation angle is also based off of the initial shape of the dot. These dots started out as circles and were stretched into ellipses from the rotation formula.
float $newx = $fx * cos($rad) + $fy * sin($rad); //switch to -/+ to change which was on top float $newy = $fx * sin($rad) + $fy * cos($rad); $amount += 1 - smooth(0.0, 1.0, (pow($fx, 2.0) + pow($fy, 2.0) + ($fy * $fx) * 6));
The last bit of xy * 6 turns the ellipses into hyperboles apparently. Image 3 and 4 are the same settings, but instead of using: float $newx = $fx * cos($rad) - $fy * sin($rad); float $newy = $fx * sin($rad) - $fy * cos($rad); to modify x and y, this was used: float $newx = $fx * cos($rad) + $fy * sin($rad); float $newy = $fx * sin($rad) + $fy * cos($rad); The layer that was on "top" changed! This is a repeating pattern of basically ellipses rotated alternately at +- 45 degrees. I'm trying to implement this one using vex only (yay coding!) by dissecting the soft dots sop. So far I've been able to replicate the dots and add the second "layer" of hashmarks in but I'm not able to rotate the ellipses properly. I've obtained a 30 degree rotation, as shown below. So far I've tried to rotate the UV coordinates based on a matrix before the ellipses are produced, rotate the ellipses using a matrix after they are produced and finally by altering the equation that is producing the ellipses. The latter has been the most successful but only stretches the shapes rather than physically rotating them.
New pieces have been added to the algorithm! Based on above math!
This has given rise to above two images. The left was generated from the blurry monkey image, the right from the sharp one. Surprisingly, the sharp image gave more saturated colors which I suppose makes sense considering that a blurred image generally tones down the colors due to the blurring. If the user has a reference image they like, they would want to use the colors out of it. This python node in COPs takes the image and generates a ramp node with the proportional values of the most prevalent colors.
Blurred and sharp images return different results, I like the blurred one better because it forces the computer to ignore (in this instance) the fur information and focus on the over all color. I'd also like to add preference based on the luminance of the image because to me, the bright blue and red and orange of the image are more important than the dark colors. This is not accurate to the photo but I feel that users choose reference photos based on composition of the colors rather than seeing the straight relevancy of them, otherwise they wouldn't need to use a chooser like this to pick their colors. User Inputs:
Trying to add new features to the shader, I've stumbled across the necessity for multiple displacements. It turns out that this is completely possible to layer one displacement on top of another one, meaning that instead of just adding various values together, you can just pipe everything together in separate displacement nodes for finer detail. The key is to add a the re-dicing parameter to the mantra node. Read more here. This does add time onto renders but really not that much for how cool the outcome is.
Due to my unwillingness to sit around for hours waiting for my renders to be finished and hitting a different checkbox each time, I stumbled upon a new script: hou.cd("/wherever/your/node/is") hou.pwd().cook( force = True, frame_range = (startFrame,endFrame,1)) When placed on the matra ROP on the pre-frame script, this forces the material to re-cook each frame, allowing the checkboxes to be re-evaluated and the correct pretty picture to be outputted.
|
AuthorCompilations and contemplations of my time as a Side Effects intern. Archives
August 2013
Categories
All
|