Kristen Eggleston
  • Demo Reel
  • Contact
  • SESI
  • Explorations in Renderman
  • Mechanical Spiders

Mood Board 2.0

7/19/2013

0 Comments

 
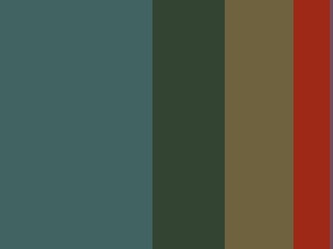
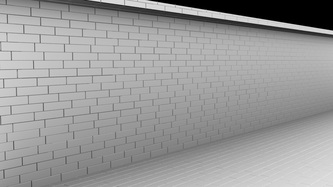
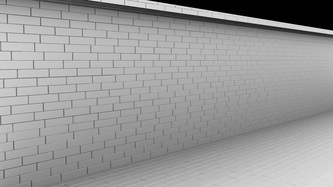
New pieces have been added to the algorithm! Based on above math!
  • Based off of HSV rather than RGB
  • Averages colors that are similar together rather than taking first one
  • Average colors give higher weight to more saturated and higher value pixels
  • Combines like panels together so that there aren't 5 close green stripes together; user can iterate how many times this happens/if it happens

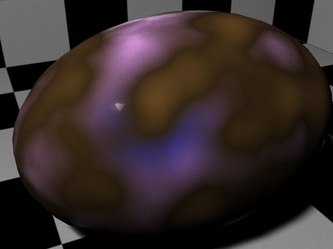
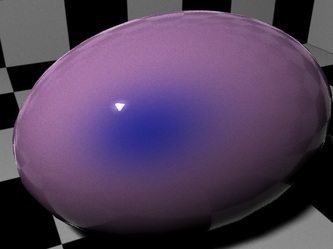
This has given rise to above two images. The left was generated from the blurry monkey image, the right from the sharp one. Surprisingly, the sharp image gave more saturated colors which I suppose makes sense considering that a blurred image generally tones down the colors due to the blurring.

0 Comments

Rendering Time!

7/9/2013

0 Comments

 
Today will be spent making high res renders of what the shader can do. I will be going through all the options, making sure they all still work, and setting up default options if necessary.

Problems:
  • This shader is so big, it takes forever to render just a straight color. It must be calculating everything at the same time and I don't know how to turn that off.
  • Difficulty with making checkboxes animate when not direct parameters

Solutions:
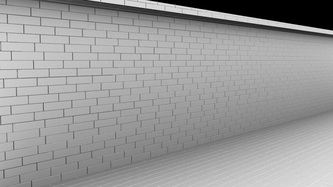
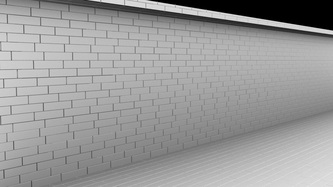
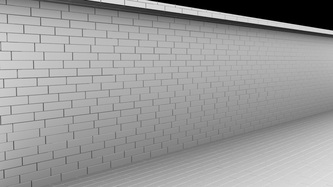
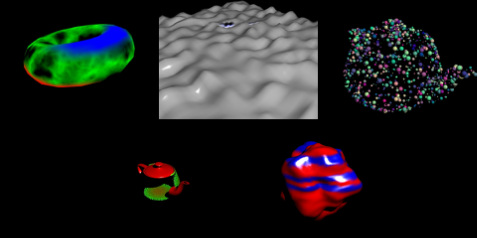
  • I think rendering was taking an hour+ not only because the maximum rays were too high but the samples on the occlusion layer were exorbitant as well. Reducing samples to 16 produces only slight graniness and is not really visible unless you are all the way zoomed in. Below are tests done with default render settings and 1.5 shading quality. The rest of the layers render in no time at all.
0 Comments

The Lovely Tutorials

6/3/2013

0 Comments

 
I started out by finding whatever Vops/VEX tutorials I could. They mostly showed how to play around with the various facets of the shaders and gave me some really good ideas to work with and techniques with how to work with the shaders.
Picture
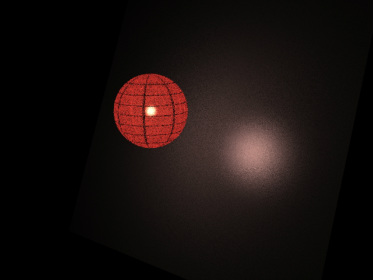
First tutorial, creating a lantern shader using luminosity of the grid texture to drive the subsurface of the paper.
Picture
Second tutorial, focused on using position to drive color, time to drive opacity, and color to drive specularity.

The third tutorial that produced images was the car paint tutorial. Here, I followed along and created a shader from scratch using vops. The shader starts with a lambert as a base and adds on specularity and reflection in two layers using a trace node multiplied by a fresnel node. There are two of these reflection sets added in so that there can be a blurred reflection and a glossy reflection to simulate a gloss over a base paint. In addition, there is a third reflection that is multiplied by a noise to simulate the flecks that are in car paint.


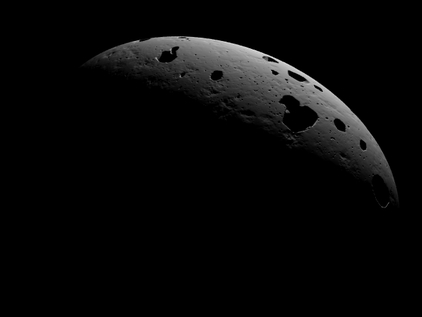
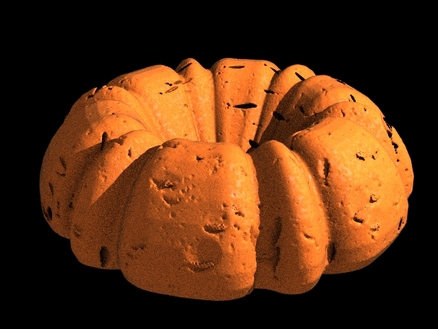
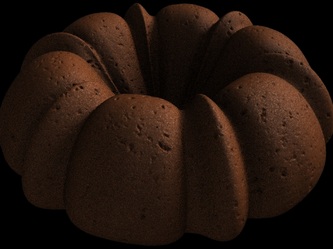
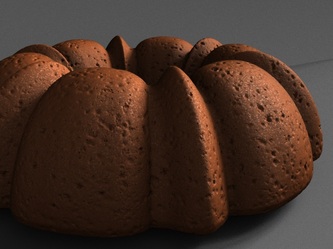
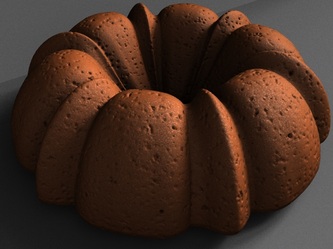
With these tutorials as a jumping off point, I started reworking a piece with three bundt cakes. Previously, I had used mountain nodes and cookies to model in the divots in a real cake that come from air bubbles bursting against the pan. I could not use a proper subsurface shader on this model because the mesh was so terrible and it took an ungodly amount of time to render. Now I'm using VDBs to create the holes in the mesh and it's coming out much cleaner. I can also make moon rocks!
Picture
That's no moon...
Picture
Also I can make cheese.
Of course all things can really be solved with lighting. Using HDRIs  is really an amazing technique. The next step is figuring out FLIP fluids for the icing on the cake. Then that really will be the icing on the cake!
0 Comments

    Author

    Compilations and contemplations of my time as a Side Effects intern.

    Archives

    August 2013
    July 2013
    June 2013

    Categories

    All
    Discoveries
    Fun Renders
    It Totally Works
    New Feature
    Personal
    Problems
    Uber Shader

Proudly powered by Weebly