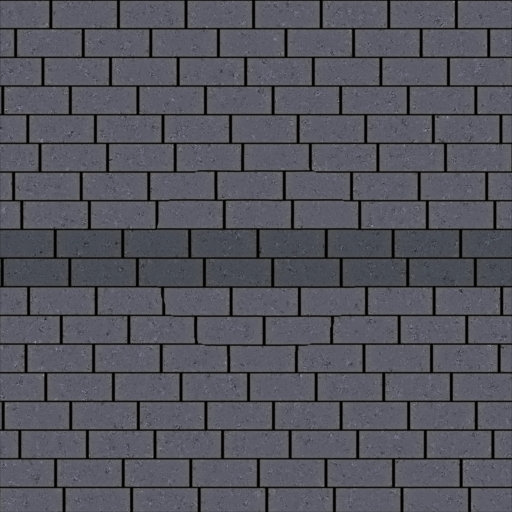

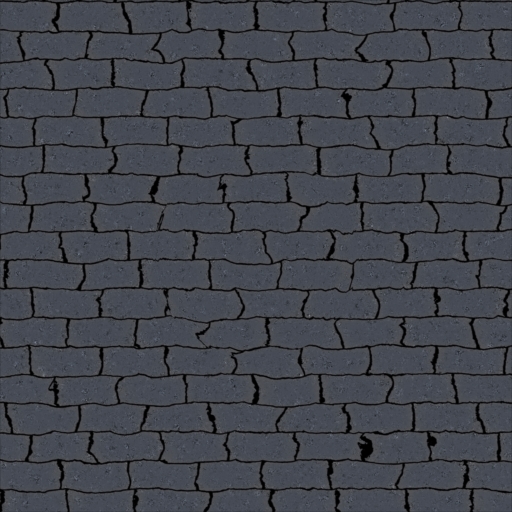
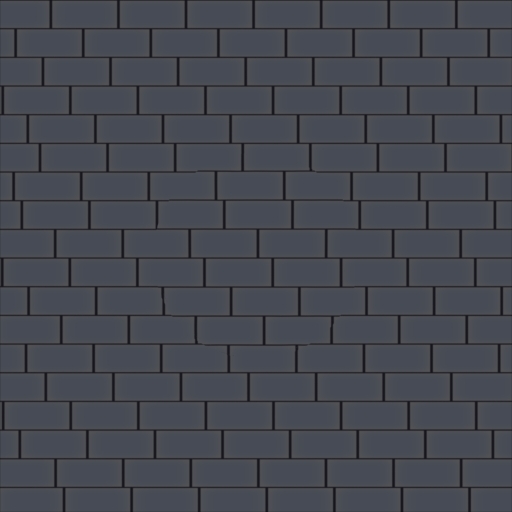
Next pattern: Bricks. This reference image showcases the displacement of individual bricks, the wearing of the color on the edges of bricks, the change of spec within the grout, and two different colors of brick rows.
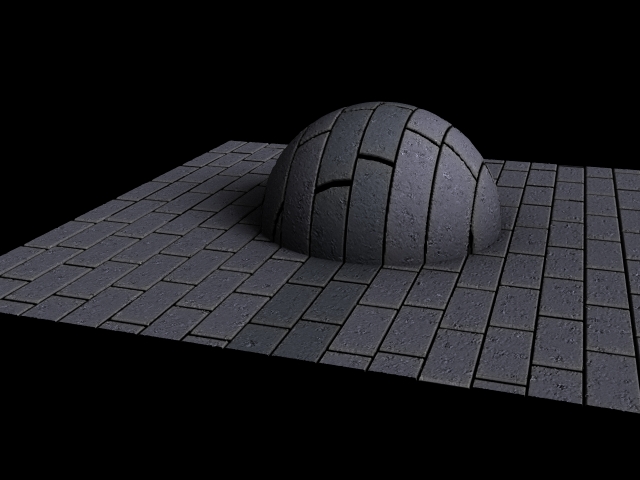
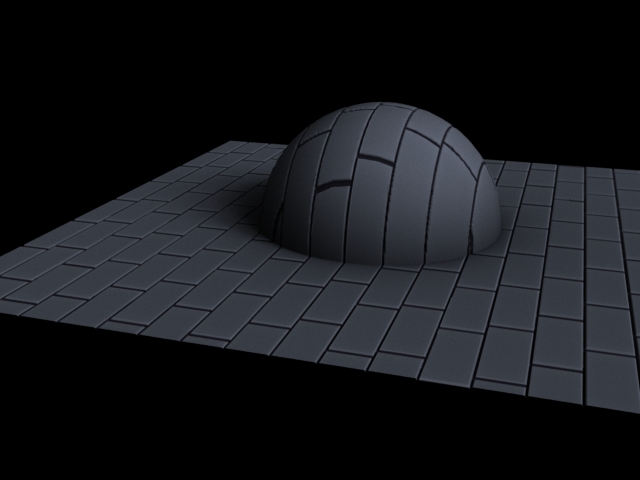
To create the individual brick, the user inputs a color or texture map and a grout color. This is fed into a COPs network and rendered to the tmp drive. The file, with alpha to delineate where the "grout" is, is read into the shader, then repeated and offset on the object's UV set. The user also has the ability to change each tile's edge saturation and value, add noise to make little bumps to add air pockets to the bricks, and create wacky edges.
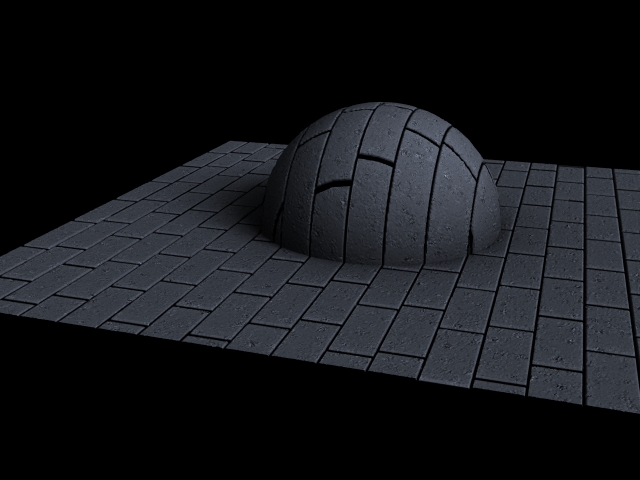
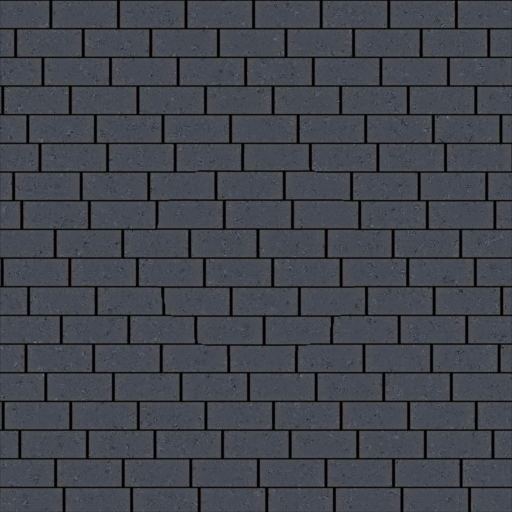
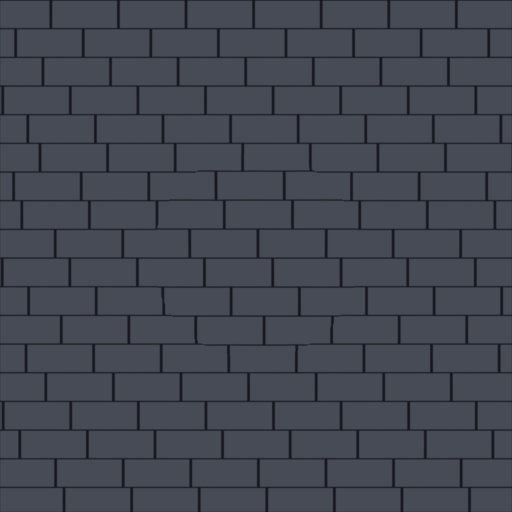
Next I want to be able to change the color of each tile based on a ramp to have the stripes as in the above picture so that the user does not have to apply multiple shaders to one object.
Next I want to be able to change the color of each tile based on a ramp to have the stripes as in the above picture so that the user does not have to apply multiple shaders to one object.
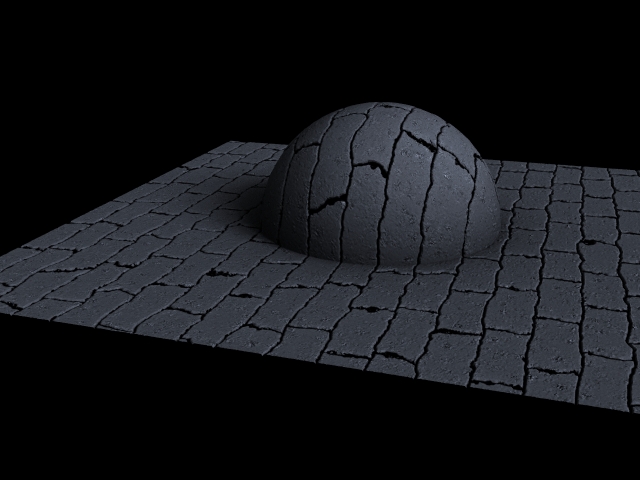


Now there is the ability for super creepy hallways! I will probably make a basic scene like the above hallway to demonstrate the versatility of the shader to go between a clean hallway and a dirty one. Below are renders of the start of a hallway, the user manipulates a ramp mask to tell where the hue, saturation and value shifts should be. With the way I am implementing the color for the tiles, it would be very difficult to make the shader use color mixes rather than a hue shift. This way, only one file is created and that files' aged look, if desired, is preserved. It's just a little more finicky for the user this way.