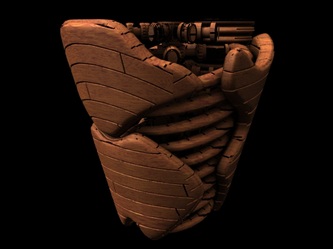
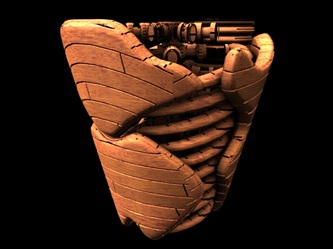
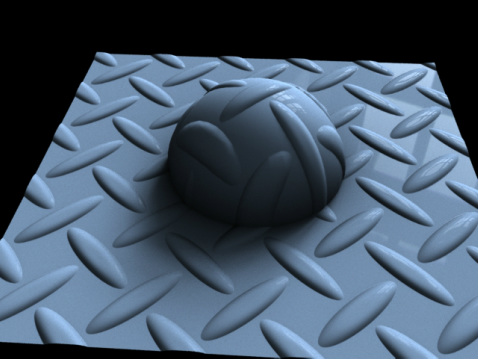
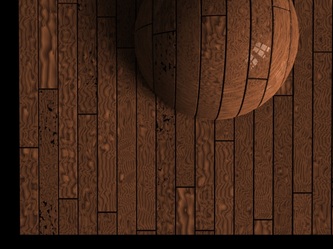
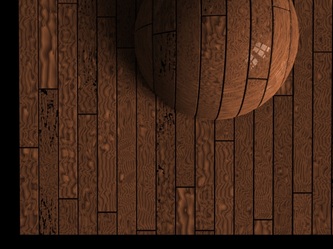
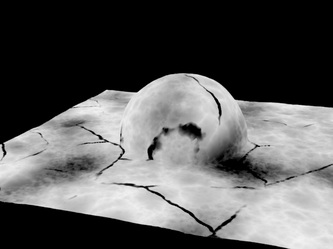
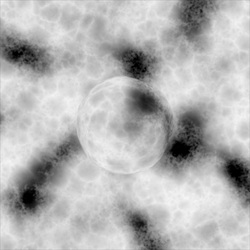
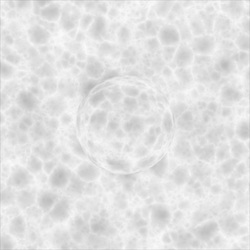
In trying to set up a lighting test for the shader and seeing how fast it rendered, I tried to turn up the diffuse bounces to get a more realistic feel on the render. It didn't do anything. Apparently, the way I made the shader with the lambert making the diffuse calculations did not take into account bounces. Now, it does! I just plugged in the physically based diffuse node rather than the lambert.
|
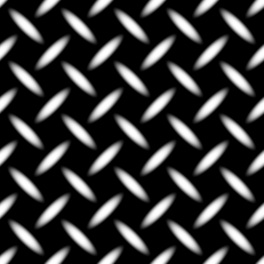
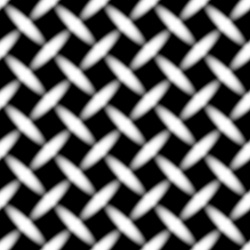
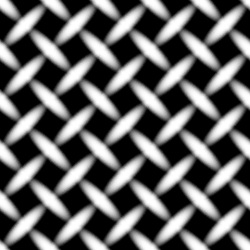
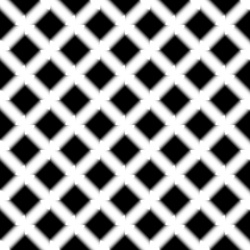
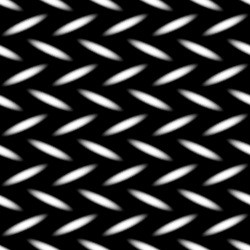
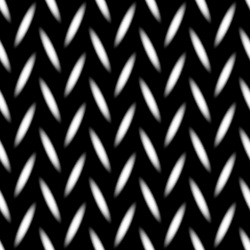
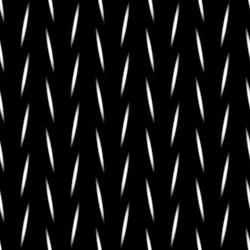
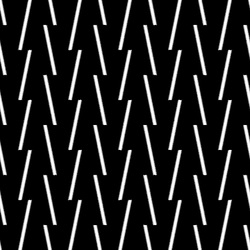
Alright so for some reason, the rotation angle is also based off of the initial shape of the dot. These dots started out as circles and were stretched into ellipses from the rotation formula.
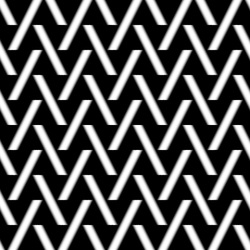
float $newx = $fx * cos($rad) + $fy * sin($rad); //switch to -/+ to change which was on top float $newy = $fx * sin($rad) + $fy * cos($rad); New pieces have been added to the algorithm! Based on above math!
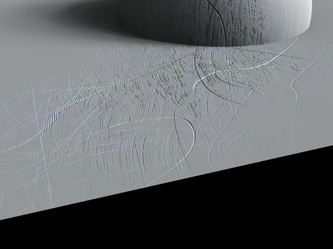
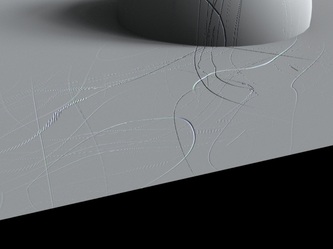
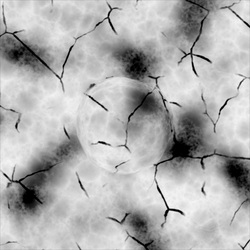
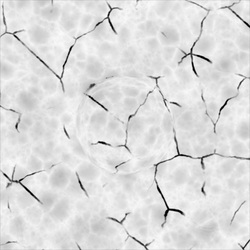
This has given rise to above two images. The left was generated from the blurry monkey image, the right from the sharp one. Surprisingly, the sharp image gave more saturated colors which I suppose makes sense considering that a blurred image generally tones down the colors due to the blurring. Scratches have somewhat been achieved! They're based off the same cracks that I made previously in a cellular noise fashion. The user has the ability to control the size of the cells, the patch frequency that they are being put into, the edge of the cells and somewhat the planks the cracks are being put on.
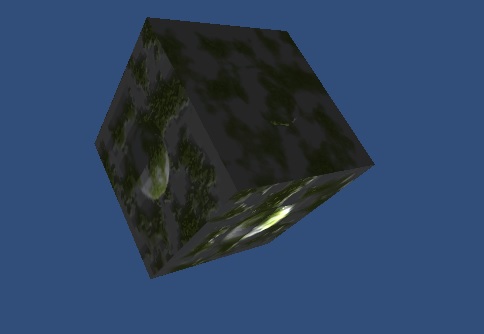
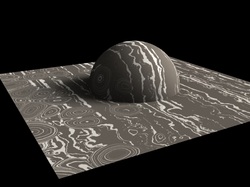 I want to be able to combine the lower two options of concentric circles and the striations to make more of a traditional Damascus pattern. So far, layering has happened rather than forming the stripes around the circles. Time to play with math (using different methods of combining the noise functions) to see if that will fix all my problems. 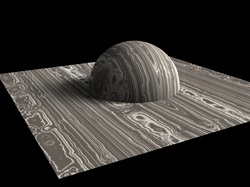 Success!! Now to figure out which parameters to promote and where to clamp the values. This happened by piping in a ripple sop in between the multiplication of the UVs and the rotated matrix so that there was already that rippled effect before the striations from the noise happened. I think this looks much more like real Damascus than the previous renders. It also kinda looks like wood, but there is a node for that so I do not think I will use this as a base for making a wood texture, but rather I will use that node. 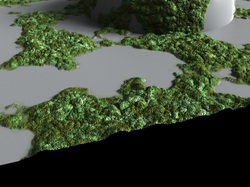 Just look at that gorgeous displacement! Moss has a soft falloff on its lumps and growths, something achievable by piping the displacement values through a square root function. There are three noise functions on the moss, a low frequency to get rolling hills, a medium frequency to get the smaller lumps and a very high frequency to achieve the small bumps. The color is also not driven through worley noise anymore, that was too swirly for what moss really looks like. My reference photos were much more patchy in color, where old and low moss was a dark green while the moss closer to the top was a lighter green. Now the small scratches are very patchy and in bunches of high frequency sets, plus they can be taken off. There are additional features so the user can control how much of the color shows through the scratch and how deep the small scratch displacements will go into the surface.
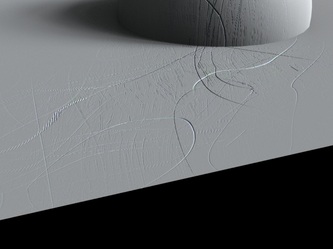
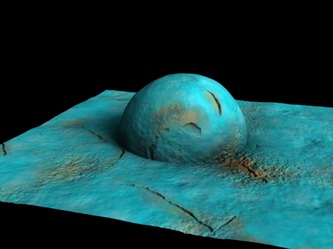
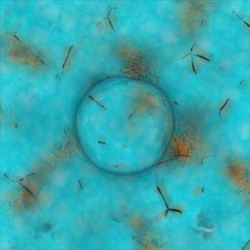
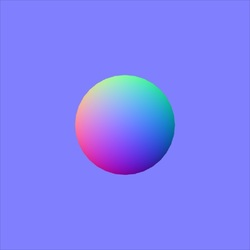 So this is what tangent space normals are meant to look like. It's basically a fit function put on normalized normals. The caveat to using this technique is that the camera must be on the correct axis for rendering, in this case lined up along the Y axis. It is then a setting the fit function's source min to (1, -1, 1) and source max to (-1, 1, -1) which correspond to the original normal values. I'm so glad that my mentor figured this out. Now it's time to start making patterns. I've decided to start with a rusted metal type pattern. It has rust and displacement that "corrodes" the metal and tries to layer it underneath the paint. My reference image also has cracks where the paint is trying to flake off and expose the rusty metal underneath, so that and a corresponding displacement is included as well. In order to make the base color look aged, a noisey color correction has been added where the user can alter the hue, saturation, and value of the image or color they input. I have been working solely on the diffuse and displacement changes however and need to make sure that I can transfer these changes over to the spec map. Specular changes have been successfully added! I am curious if the UI is usable to others though. I've put a specular tab that holds the changes for multiplying the various patterns into the spec map, but I wonder if they should go with the master controls for the patterns. 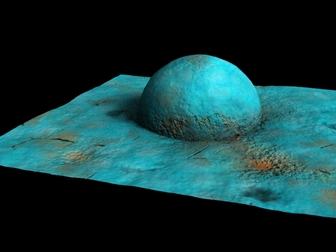 I think I've finally figured a work around for the occlusion based rust. The color part works fine, it only gets dodgy when I try to implement displacement based off of anything to do with occlusion. Possibly because occlusion takes displacement into account and I'm not quite sure how to bypass that. My workaround now is to render out a specific occlusion vex variable with a specific mantra. This particular mantra is then wired in to the main mantra node so that it renders before the main one renders so that the file is there. The outputted file is stored on the tmp drive. |
AuthorCompilations and contemplations of my time as a Side Effects intern. Archives
August 2013
Categories
All
|
